
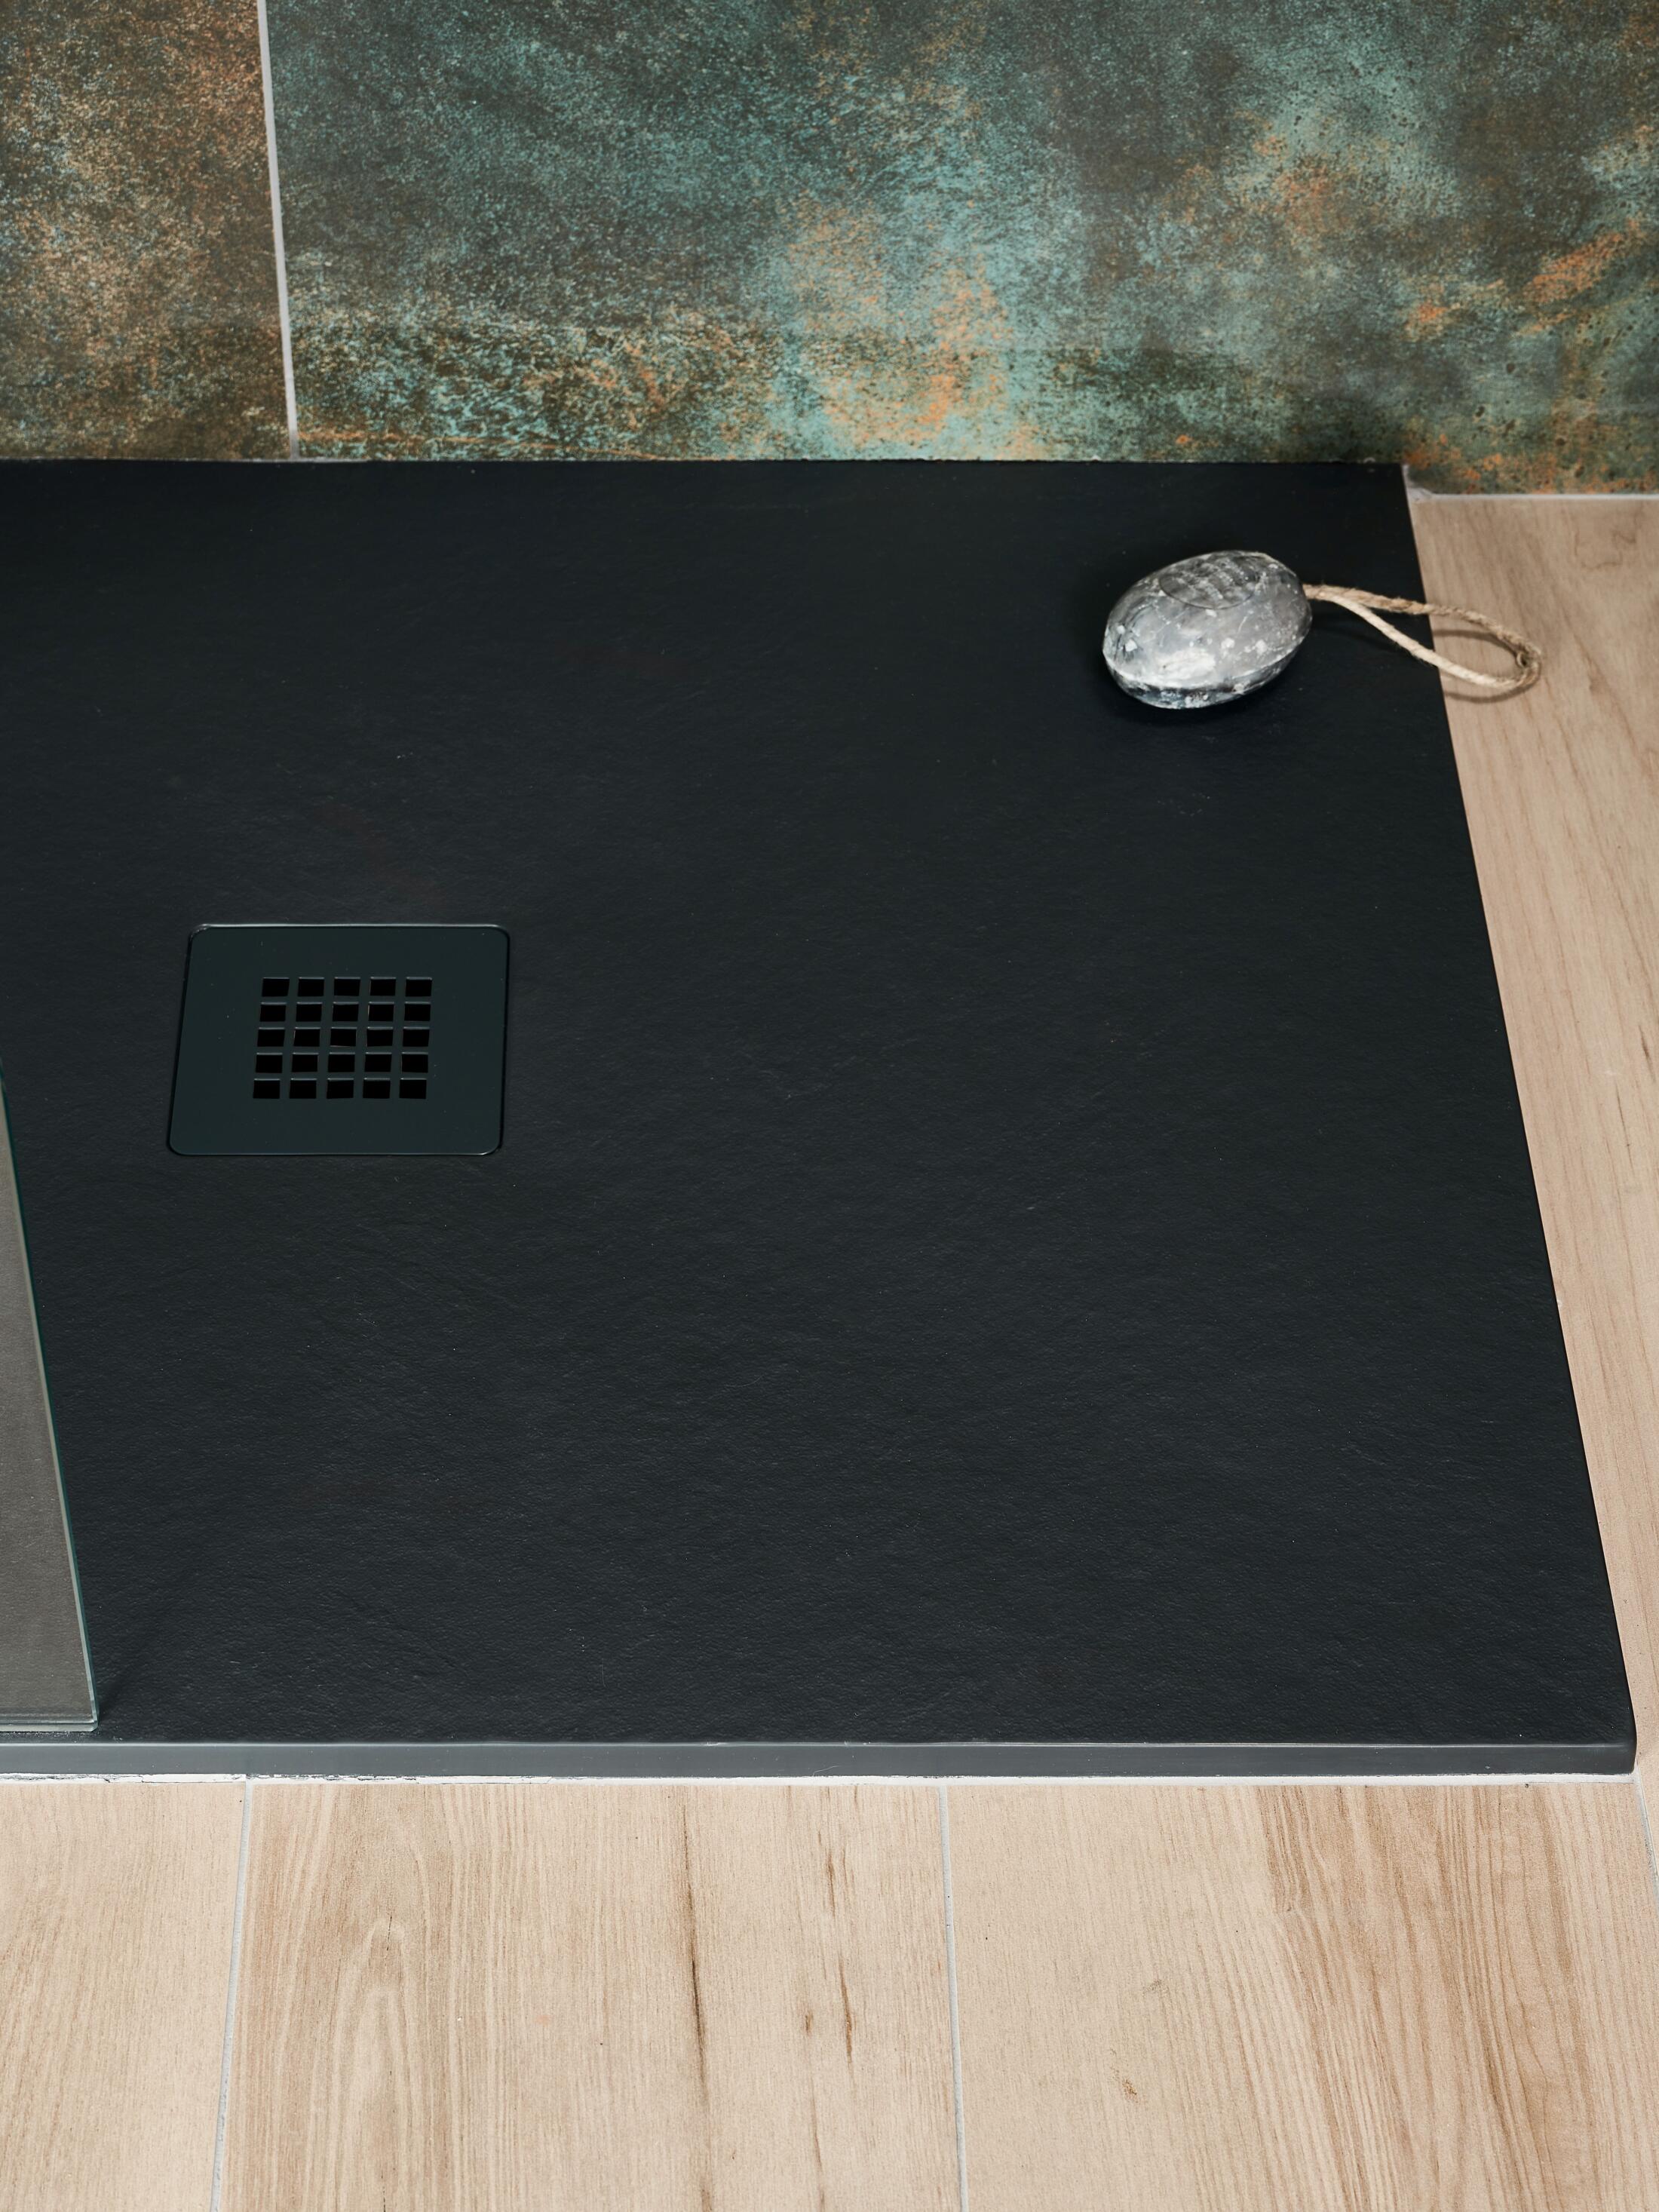
How to Cut a Giorgio2 Shower Tray
Cut-to-size shower trays can be a practical solution for bathrooms with awkward dimensions, alcoves, or layouts where a standard tray size may not provide the best fit.
The Giorgio2 shower tray collection has been designed with installation flexibility in mind and can be trimmed during installation where required. However, it’s important that cutting is carried out carefully to protect the tray’s structure, surface finish, and drainage performance.
In this guide, we explain how to cut a Giorgio2 shower tray safely and accurately, including the tools required, how much can be trimmed, and the key considerations before installation.
Can You Cut a Giorgio2 Shower Tray?
Yes. Giorgio2 shower trays can be trimmed during installation where necessary.
However, we recommend removing no more than 100mm from any side of the tray. Cutting beyond this may affect the tray’s gradient, which could compromise drainage performance.
It’s also important to note that this guidance applies specifically to the Giorgio2 collection. Not all shower trays are designed to be cut, so manufacturer guidance should always be checked before trimming any tray.
What Tools Will You Need?
To cut a Giorgio2 shower tray, you will typically need:
- An angle grinder
- A tile cutting or diamond blade
- Measuring tape
- Pencil or marker
- Masking tape
- Water for cooling the blade and reducing dust
- A flat, fully supported working surface
Recommended PPE includes:
- Safety glasses
- Dust mask
- Ear defenders
- Protective gloves
Because cutting creates dust and noise, all power tool safety guidance should be followed carefully throughout the process.
Before You Start
Before making any cuts, place the shower tray onto a smooth, flat surface with full support underneath.
This helps reduce the risk of movement, cracking, or damage during cutting.
You should also confirm the final waste position before trimming the tray. Once reduced in size, the waste outlet must still align correctly and avoid obstructions such as joists or pipework beneath the floor.
Step One: Measure Carefully
Accurate measuring is essential.
Measure the installation area carefully and double-check all dimensions before marking the tray.
A useful principle to follow is:
Measure twice, cut once.
Once material has been removed, the tray cannot be restored, so taking time at this stage is important.
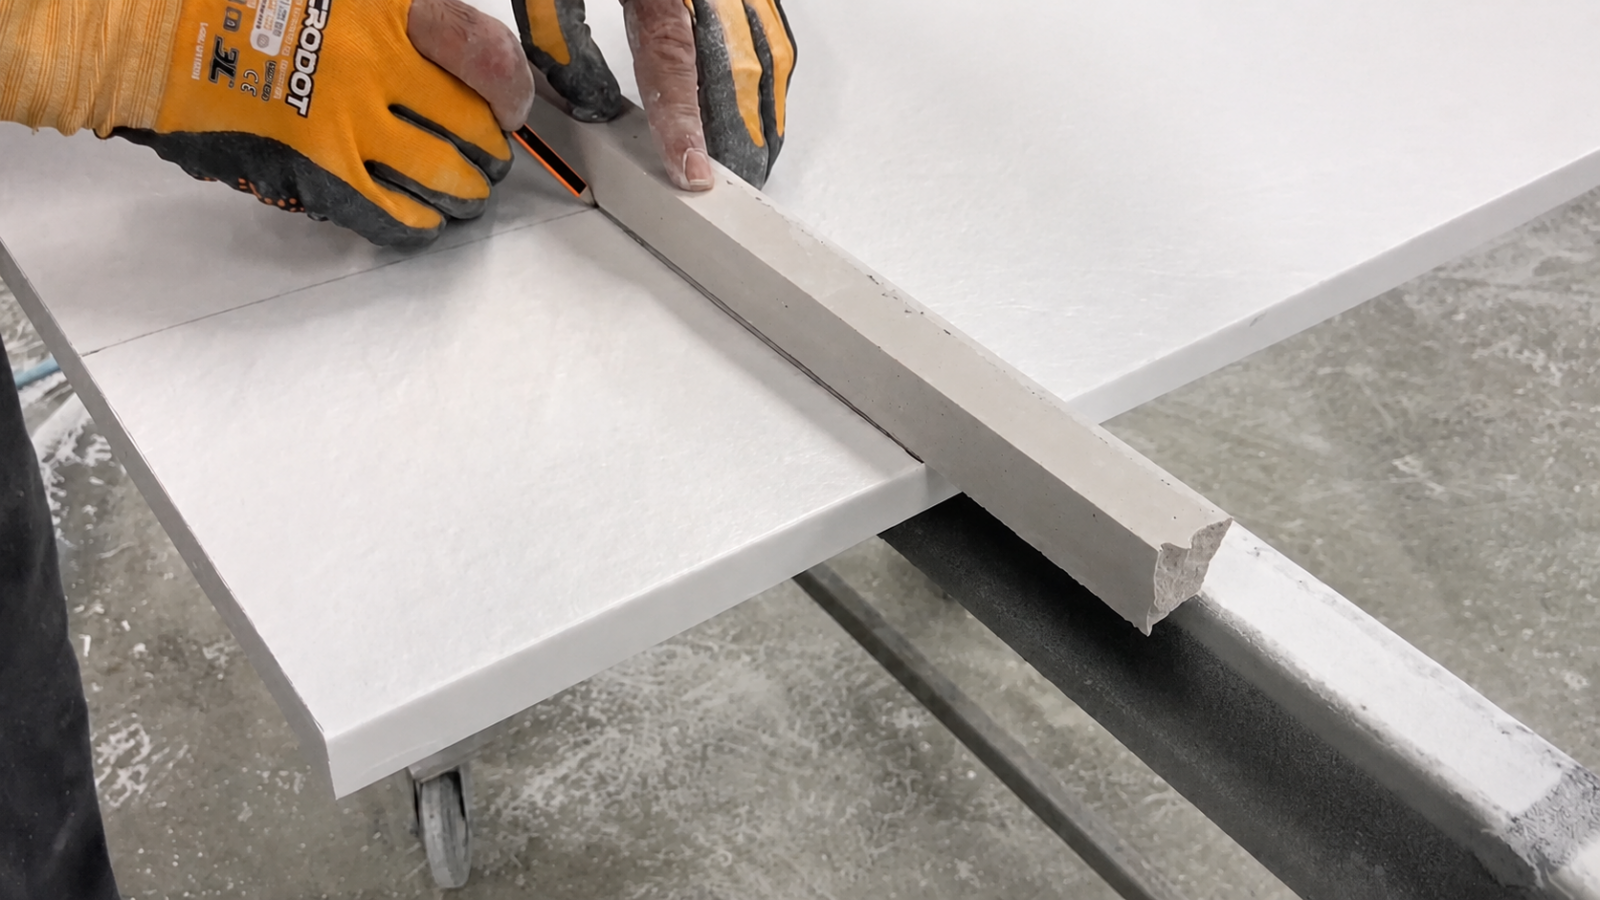
Step Two: Apply Masking Tape
Once measurements have been confirmed, apply masking tape along the proposed cutting line.
This helps:
- Make the line easier to follow
- Reduce visible marking on the tray
- Support a cleaner finish during cutting
Mark the cutting line clearly onto the tape and check once more that the correct side of the tray is being trimmed.
The tray should always be cut from the top surface, not from underneath.
Step Three: Cut the Tray Carefully
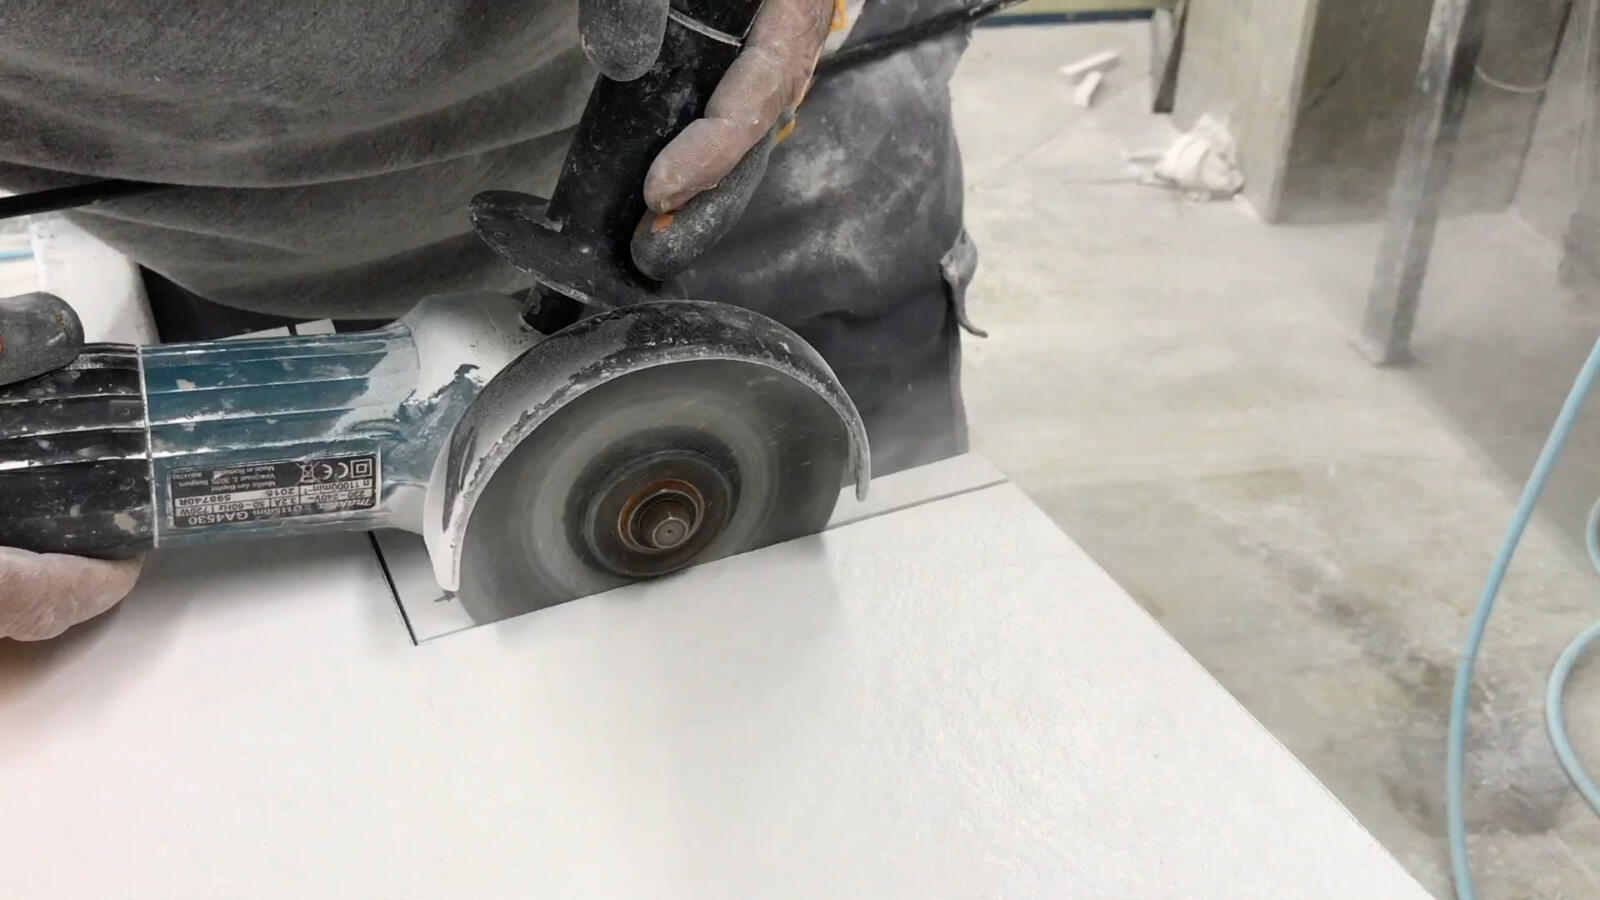
Using an angle grinder fitted with a suitable tile cutting or diamond blade, carefully follow the marked cutting line.
Take your time and avoid forcing the blade through the material.
Using water to cool the blade can help:
- Reduce dust
- Prevent overheating
- Improve the finish of the cut edge
Throughout the process, ensure all appropriate PPE is worn.
Step Four: Smooth and Clean the Edge
After cutting, inspect the exposed edge carefully.
If required, refine any rough areas to ensure the edge is smooth and clean before installation.
Once complete, wipe the tray thoroughly with a damp cloth to remove dust and debris, particularly from the underside.
This is important because residual dust may affect adhesion during installation.
Step Five: Install the Tray Correctly
Once trimmed and cleaned, the tray can be installed following the manufacturer’s installation guidance.
Care should be taken to ensure:
- Full support beneath the tray
- Correct waste alignment
- Proper sealing
- Effective drainage
For the best result, installation should always be carried out by a qualified or experienced bathroom installer.
Key Things to Remember
- This guidance applies specifically to Giorgio2 shower trays
- Do not remove more than 100mm from any side
- Always check waste positioning before cutting
- Always cut from the top surface
- Ensure the tray is fully supported during cutting
- Use suitable PPE and follow all power tool safety guidance
Why Giorgio2 Shower Trays Are Popular
The Giorgio2 collection remains popular because it combines installation flexibility with a clean, low-profile appearance suited to contemporary bathroom design.
Features include:
- Slimline profiles
- Stone resin construction
- Contemporary minimalist styling
- Cut-to-size flexibility
- A wide range of sizes and formats
The collection is designed to support a variety of layouts, from compact ensuites through to larger walk-in shower spaces.
Frequently Asked Questions about Cutting Giorgio2 Shower Trays
No. Not all shower trays are suitable for trimming, so manufacturer guidance should always be checked before cutting any tray.
Tissino recommends removing no more than 100mm from any side of a Giorgio2 shower tray.
Removing more than 100mm may affect the tray gradient and compromise drainage performance.
A tile cutting blade or diamond blade fitted to an angle grinder is recommended.
No. Giorgio2 shower trays should always be cut from the top surface.
An experienced installer may be able to cut the tray safely, although professional installation is recommended to ensure accuracy and a watertight finish.